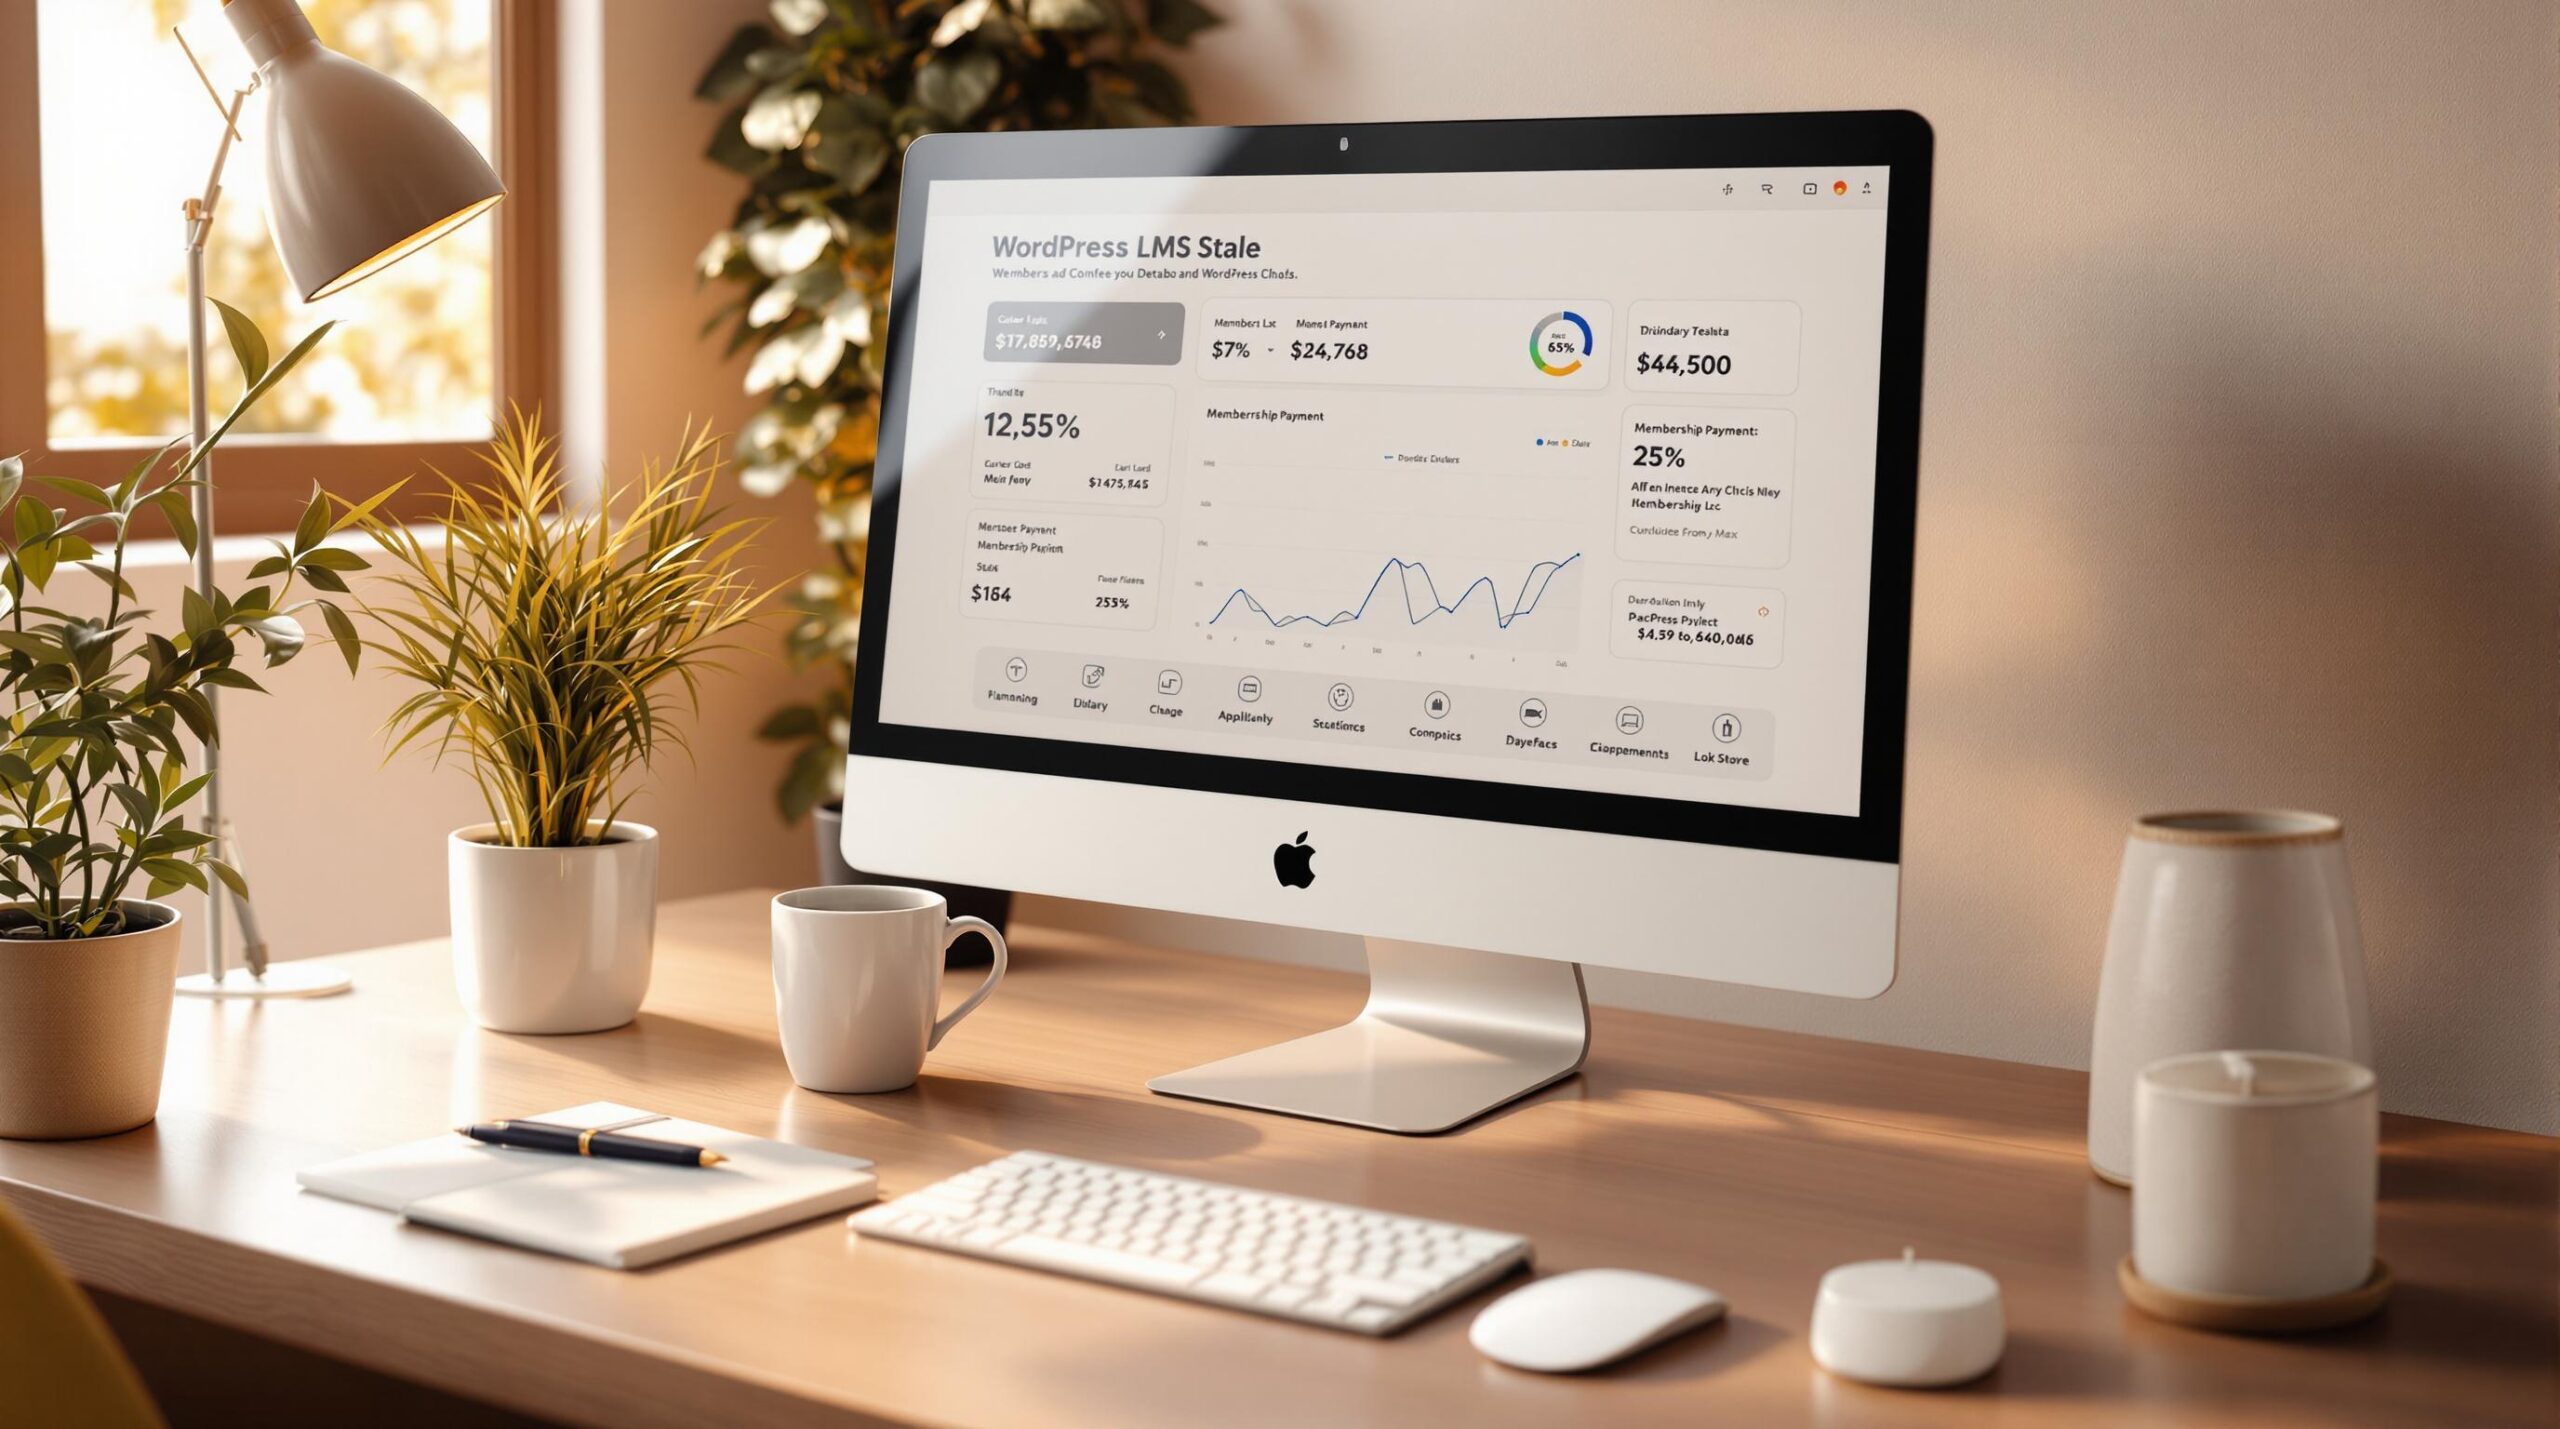
Tracking payments in your WordPress LMS is essential for managing revenue, improving user experience, and ensuring financial compliance. Here’s a quick overview of how to do it:
- Set Up a Payment Gateway: Choose a secure gateway with features like recurring payments, detailed reporting, and seamless WordPress integration. Configure it using plugins like MemberPress or Paid Memberships Pro.
- Use Payment Tracking Plugins: Install plugins to monitor revenue, subscriptions, and payment statuses. Enable reporting tools for detailed insights.
- Analyze Payment Data: Focus on metrics like Monthly Recurring Revenue (MRR), Customer Lifetime Value (CLV), churn rate, and payment success rates to make informed decisions.
- Automate Payments: Enable recurring billing, set up reminders for failed payments, and use automation to reduce cancellations.
Using Google Analytics for your Membership Site

Payment Gateway Setup
Set up secure and reliable payment gateways to ensure accurate revenue tracking and smooth transactions.
Choose a Payment Gateway
When picking a payment gateway for your WordPress LMS, focus on platforms that offer strong tracking features and integrate easily. Key features to look for include:
- Recurring Payment Support: Ideal for membership sites with subscription models.
- Transaction Reporting: Provides detailed payment history and financial insights.
- WordPress Integration: Works seamlessly with your LMS platform.
- Payment Security: Includes PCI compliance and fraud protection.
- Fee Structure: Be aware of transaction fees and any monthly costs.
Connect Payment Gateways
Adding a payment gateway to your WordPress LMS requires careful setup. Follow these steps to get started:
1. Install Necessary Plugins
Begin by installing a membership plugin that supports payment tracking. Popular options include MemberPress and Paid Memberships Pro, which offer robust payment management tools.
2. Set Up Payment Settings
Go to your membership plugin’s settings and locate the payment gateway section. Configure the following:
- Enter your payment gateway API credentials.
- Set up webhook notifications to receive real-time updates.
- Define subscription billing intervals.
- Establish rules for handling failed payments.
3. Enable Payment Tracking
Activate transaction logging and customize your reporting preferences:
- Turn on detailed logging for transactions.
- Set up automated payment notifications.
- Add custom tracking fields for better reporting.
Once everything is configured, test the system to ensure it works as expected.
Test Payment Systems
Before launching, thoroughly test your setup to avoid issues. Create a test membership level and process transactions using sandbox credentials. Check for accuracy in data and functionality for cancellations, refunds, recurring payments, and error handling.
Key Testing Steps:
- Process test transactions using various payment methods.
- Confirm recurring payments work as intended.
- Verify payment data syncs with membership records.
- Ensure failed payment notifications are triggered correctly.
- Test the system’s response to payment gateway errors.
Payment Tracking Plugins
Keeping track of payments is crucial for understanding revenue patterns and ensuring your membership site runs smoothly.
Popular Payment Tracking Plugins
WordPress LMS platforms offer plugins designed to monitor subscriptions, revenue, and payment statuses in real time. MemberPress provides a reporting dashboard packed with subscription insights, while Paid Memberships Pro delivers detailed financial reports. Once you’ve chosen the right plugin, setting it up is a straightforward process.
How to Set Up a Payment Tracking Plugin
Follow these steps to get your payment tracking plugin up and running:
-
Install and Activate
Go to your WordPress dashboard, click on Plugins > Add New, search for your plugin, then hit "Install Now" and "Activate." -
Configure Payment Settings
Set up your payment gateway credentials, billing cycles, and transaction logs in the plugin’s settings. Check the plugin’s documentation for additional options like notifications and tracking. -
Enable Reporting Features
Turn on reporting tools to monitor revenue, subscriptions, and payment statuses. Many plugins let you customize these dashboards to suit your needs.
Generating Payment Reports
Once your plugin is configured, you can start creating detailed payment reports. These reports typically include key metrics like total revenue, subscription data, and payment statuses. Many plugins also allow you to automate report generation and schedule regular email updates, ensuring everyone stays informed about your site’s financial health.
sbb-itb-dee25d2
Payment Data Analysis
Use payment data to boost revenue and make smarter financial decisions. By creating detailed payment reports, analyzing key metrics, and applying filters, you can make informed choices for your business.
Key Payment Metrics to Watch
Focus on these metrics when reviewing payment data in your WordPress LMS:
- Monthly Recurring Revenue (MRR): Tracks predictable monthly income, helping with cash flow planning and budgeting.
- Customer Lifetime Value (CLV): Measures the total revenue generated per customer, showing how profitable memberships are.
- Churn Rate: Indicates the percentage of cancellations, helping to identify retention challenges.
- Payment Success Rate: Compares successful payments to total attempts, highlighting potential issues with your payment gateway or setup.
How to Filter Payment Reports
Filtering your reports can uncover valuable insights:
- Date Range Analysis: Look at daily, monthly, quarterly, or yearly data to identify immediate problems, seasonal trends, or long-term patterns.
- Membership Level Filtering: Analyze revenue by membership tiers to evaluate profitability and identify upgrade or downgrade patterns.
- Payment Status Categories: Sort transactions by status (successful, failed, pending, refunded, canceled) to stay on top of issues and maintain control.
Pro tip: Export filtered reports regularly to keep historical records. Most WordPress LMS plugins let you download reports in CSV format, making it easy to dive deeper into the data using spreadsheet tools.
Payment Automation
Simplify your payment process with automated recurring billing, quick recovery for failed payments, and strategies to keep members engaged and revenue steady.
Recurring Payment Setup
Set up automated billing cycles to maintain consistent cash flow and improve the member experience. Use your WordPress LMS payment settings to:
- Enable automatic subscription renewals through your payment gateway.
- Define billing cycles – choose from monthly, quarterly, or annual options.
Always test recurring payments in sandbox mode to avoid any billing errors.
Failed Payment Recovery
Act quickly when a payment fails to limit revenue loss. A strong recovery process should include:
- Instant email notifications for both the site admin and the member when a payment doesn’t go through.
- Scheduled reminder emails prompting members to update their payment details.
- Clear communication about the payment issue and steps to resolve it.
Prevent Member Cancellations
Automation doesn’t just recover payments – it also helps retain members. Stay ahead of cancellations by tracking payment and engagement trends. Some effective strategies include:
- Monitoring usage to spot signs of reduced engagement.
- Sending check-in emails to members who seem less active.
- Offering flexible billing options to meet different member needs.
Combine payment tracking with engagement data to:
- Analyze course completion rates alongside payment history.
- Spot patterns between engagement levels and payment issues.
- Personalize retention efforts based on member behavior insights.
Fix Payment Problems
After setting up and tracking payments effectively, it’s important to address any issues quickly to keep things running smoothly.
Fix Plugin Conflicts
Check that all plugins work well together. If there’s a problem, disable plugins one at a time to figure out which one is causing the issue. Once identified, update the problematic plugin or reach out to a membership LMS expert for help if the problem continues.
Payment Gateway Errors
Errors with payment gateways often come from incorrect credentials or connection problems. Double-check your credentials and settings, look through error logs, and consult the gateway’s documentation if you’re stuck.
Getting Additional Help
If you need more assistance, reach out to the plugin developers, hire a WordPress expert, or explore support forums and documentation for guidance.
Conclusion
Keeping track of payments is a key part of running a successful WordPress membership site. With strong payment monitoring and automated tools to handle failed payments, you can maintain consistent revenue while delivering value to your members.
A properly set up WordPress membership system makes payment management easier by simplifying tracking and reporting processes. This ensures smoother operations and less hassle for you.
Make the most of WordPress features and plugins to improve payment tracking. For example, you can set up automated email reminders, connect your membership site to a CRM system, and track member activity to boost retention.
For lasting success, prioritize the following:
- Keep systems up to date
- Address gateway issues quickly
- Track member engagement regularly
- Automate recovery for failed payments


